There are several ways how to share files and folders with other users. It is differentiated between users (accounts that are our customers) and external users. Read the following article to learn how to create both types of shares:
Share files with external users in the web interface
First, navigate to the path of the file or folder that you want to share with another person. There move the mouse over the name and click on the share icon:
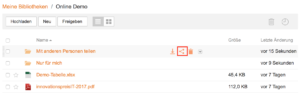
The following window appears:
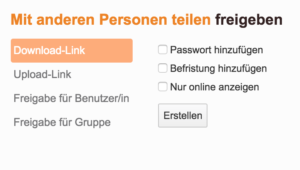
On the left side you can choose between the options download link and upload link:
- Use Download link, if you want to create a public link for people who are not customers of Your Secure Cloud, but want to download/access files.
- If you create an Upload link (folders only), other people have the option to upload files and folders to the shared folder. They can’t view the content of your shared folder.
You can protect the links with an additional password, add an expiration date to automatically expire the link, or prohibit a user from downloading the files by selecting „Show only online“.
Once created, you can send the link directly by e-mail or share it in chat portals, on websites or similar platforms.
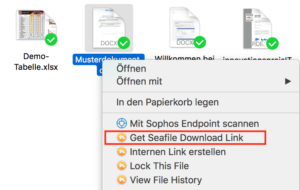
Share files with external users in the client
Open the file you want to share. Right-click on the file and select „Get Seafile Download Link“:
Share a library in the web interface with a cloud user
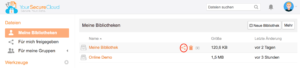
To share a library in the web browser with a user, log in to the web interface. In the view of your own libraries, move the mouse over the library name and click on the share symbol:
The following window appears:
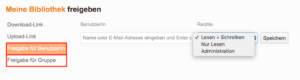
Choose between:
- Share with user, if you want to share the library with only one or more individual people.
- Share with group, if you want to share the library to an group with several people. This must have been created before.
Now enter the e-mail address of the user or group – you must enter it completely. The user must have been created in our system.
You can set the permissions for the affected user or group, the options are as follows:
- Read + Write: A user can open, modify and remove files
- Read only: A user can open files, but not modify them
- Administration: A user can open, modify and remove files as well as add other users to this library
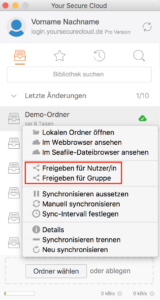
Share a library with a cloud user in the client
Open the client and right-click over the name of the desired library. The following options appear:
Choose the appropriate option, the following window appears:
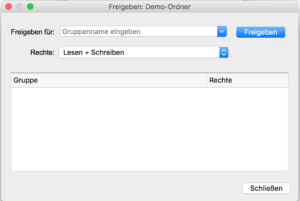
You can now enter the group name or e-mail address for the user and set the permissions. Confirm with a click on the button „Share“.